Use the Proxy Registry with Helm Installations
This topic describes how to use the Replicated proxy registry to proxy images for installations with the Helm CLI. For more information about the proxy registry, see About the Replicated Proxy Registry.
Overview
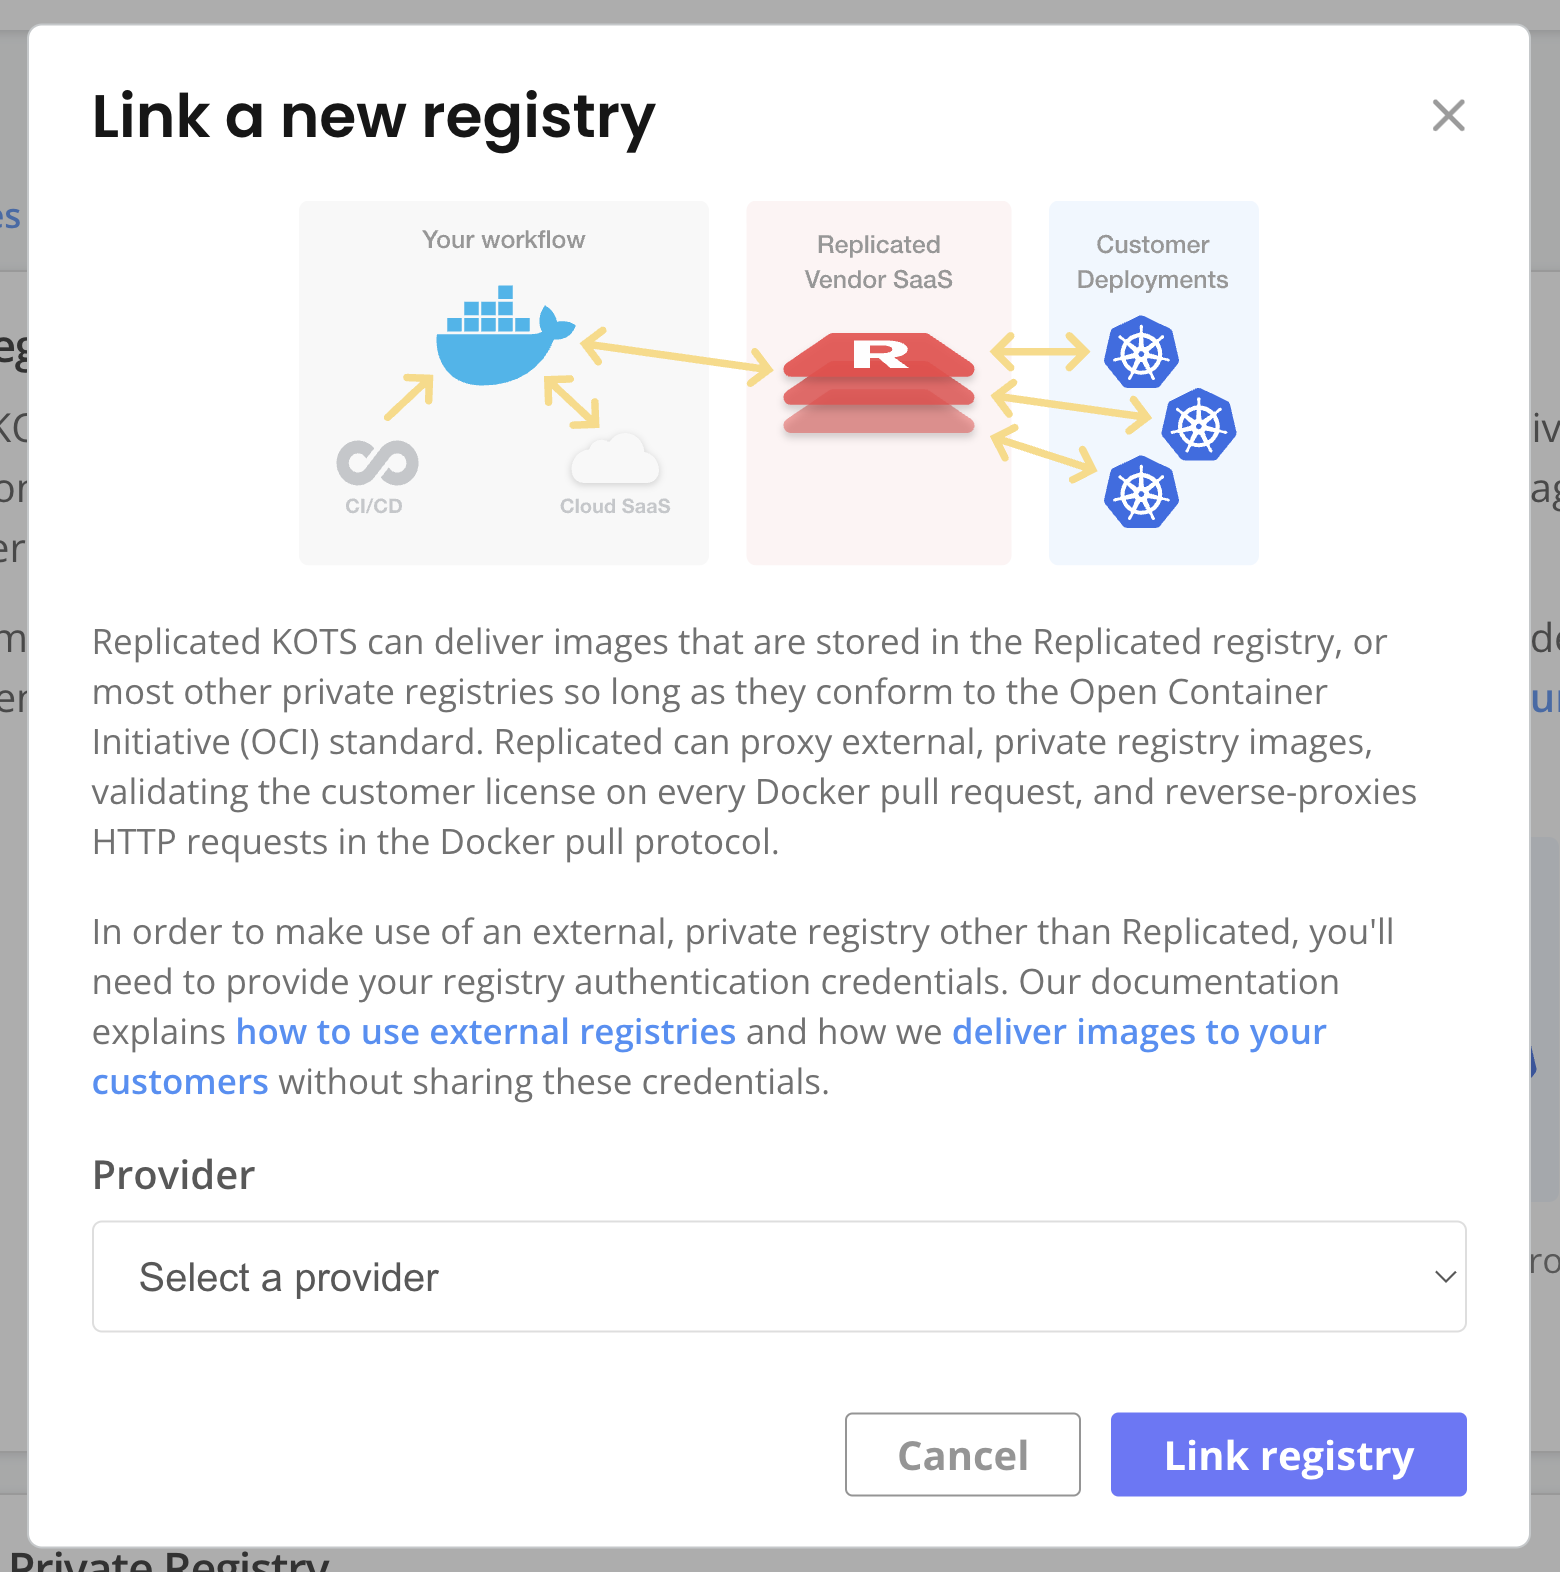
With the Replicated proxy registry, each customer's unique license can grant proxy access to images in an external private registry.
During Helm installations, after customers provide their license ID, a global.replicated.dockerconfigjson field that contains a base64 encoded Docker configuration file is automatically injected in the Helm chart values. You can use this global.replicated.dockerconfigjson field to create the pull secret required to authenticate with the proxy registry.
Pull Private Images Through the Proxy Registry in Helm Installations
To use the Replicated proxy registry for applications installed with Helm:
-
In the Vendor Portal, go to Images > Add external registry and provide read-only credentials for your registry. This allows Replicated to access the images through the proxy registry. See Add Credentials for an External Registry in Connecting to an External Registry.

-
(Recommended) Go to Custom Domains > Add custom domain and add a custom domain for the proxy registry. See Use Custom Domains.
-
In your Helm chart values file, set your image repository URL to the location of the image on the proxy registry. If you added a custom domain, use your custom domain. Otherwise, use
proxy.replicated.com.The proxy registry URL has the following format:
DOMAIN/proxy/APP_SLUG/EXTERNAL_REGISTRY_IMAGE_URLWhere:
DOMAINis eitherproxy.replicated.comor your custom domain.APP_SLUGis the unique slug of your application.EXTERNAL_REGISTRY_IMAGE_URLis the path to the private image on your external registry.
Example:
# values.yaml
api:
  image:
    # proxy.registry.com or your custom domain
    registry: ghcr.io
    repository: proxy/app/ghcr.io/cloudnative-pg/cloudnative-pg
tag: catalog-1.24.0 -
Ensure that any references to the image in your Helm chart access the field from your values file.
Example:
apiVersion: v1
kind: Pod
spec:
  containers:
    - name: api
        # Access the registry, repository, and tag fields from the values file
image: {{ .Values.images.api.registry }}/{{ .Values.images.api.repository }}:{{ .Values.images.api.tag }} -
In your Helm chart templates, create a Kubernetes Secret to evaluate if the
global.replicated.dockerconfigjsonvalue is set and then write the rendered value into a Secret on the cluster, as shown below.This Secret is used to authenticate with the proxy registry. For information about how Kubernetes uses the
kubernetes.io/dockerconfigjsonSecret type to provide authentication for a private registry, see Pull an Image from a Private Registry in the Kubernetes documentation.noteDo not use
replicatedfor the name of the image pull secret because the Replicated SDK automatically creates a Secret namedreplicated. Using the same name causes an error.# templates/replicated-pull-secret.yaml
{{ if .Values.global.replicated.dockerconfigjson }}
apiVersion: v1
kind: Secret
metadata:
# Note: Do not use "replicated" for the name of the pull secret
name: replicated-pull-secret
type: kubernetes.io/dockerconfigjson
data:
.dockerconfigjson: {{ .Values.global.replicated.dockerconfigjson }}
{{ end }} -
Add the image pull secret that you created to any manifests that reference the image:
Example:
apiVersion: v1
kind: Pod
spec:
  containers:
    - name: api
  # Access the registry, repository, and tag fields from the values file
        image: {{ .Values.images.api.registry }}/{{ .Values.images.api.repository }}:{{ .Values.images.api.tag }}
        # Add the pull secret
        {{ if .Values.global.replicated.dockerconfigjson }}
        imagePullSecrets:
          - name: replicated-pull-secret
{{ end }} -
Package your Helm chart and add it to a release. Promote the release to a development channel. See Managing Releases with Vendor Portal.
-
Install in a development environment to test your changes. See Install with Helm.